
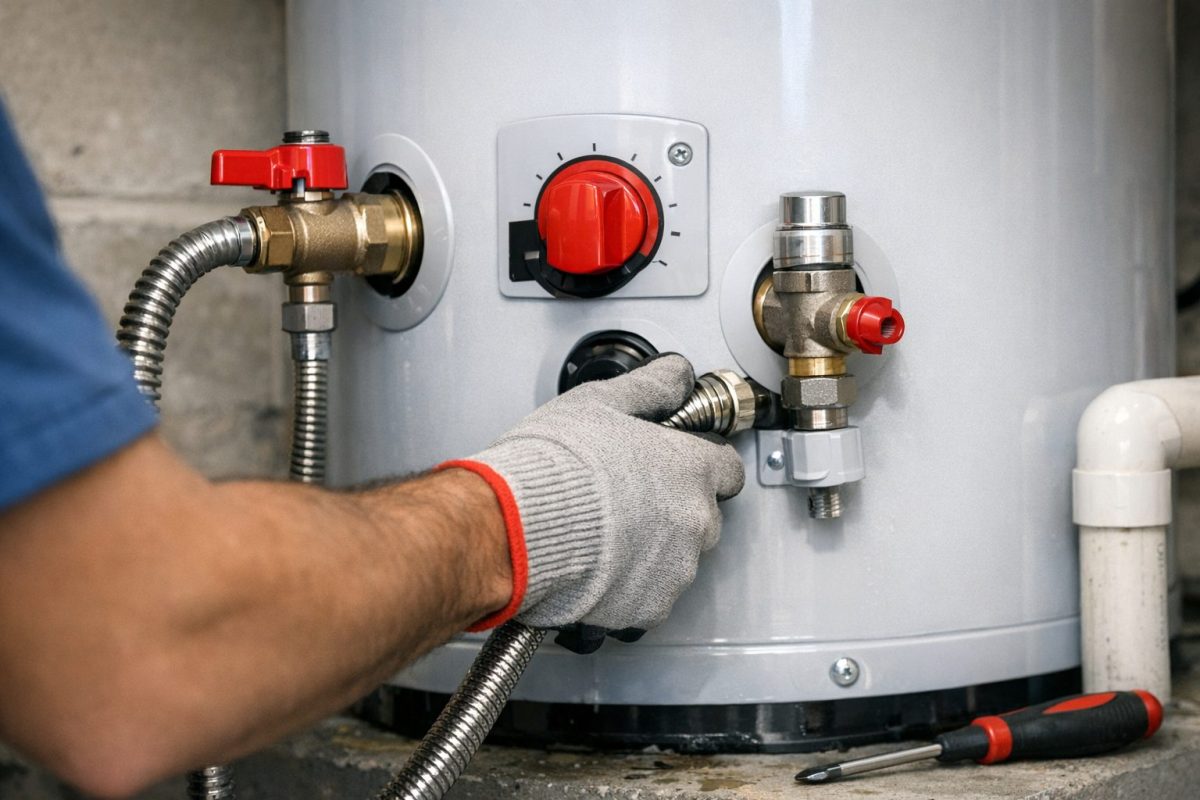
Water Heater Installation: What to Expect and How to Prepare Your Home
A water heater failure at 11 PM on a Tuesday doesn’t feel like a manageable problem, it feels like an emergency that’s about to hijack your week. You start imagining worst-case scenarios: a contractor who shows up two days later, surprise charges when he opens the unit, a process that eats up an entire day of your time. The truth is simpler and less painful than you’re picturing, but only if you know what’s actually about to happen.
If you’re facing a water heater replacement or repair on Florida’s Treasure Coast, understanding the installation process removes the uncertainty that makes the experience feel overwhelming. This guide walks you through exactly what happens during installation, how long it takes, what your home needs to accommodate the work, and how to prepare so the job moves smoothly from arrival to completion.
Consider a typical scenario: Sarah, a homeowner in Stuart, had her water heater fail on a Friday evening. Because she didn’t understand what the installation process involved, she imagined worst-case scenarios, surprise charges, a full day of disruption, confusion about what needed to happen next. In reality, once she understood the sequence of steps, the typical timeline, and what the technician would need from her, the actual process felt manageable and straightforward. From our experience working with Treasure Coast homeowners, this pattern repeats consistently: anxiety drops significantly once people understand what’s actually happening. That’s what this guide addresses.
What Happens During a Water Heater Installation
A water heater installation follows a consistent sequence that licensed technicians use to protect both your home and the new equipment. Here’s the actual workflow:
Step one is isolation and drainage. The technician locates your main water shutoff valve and shuts off supply to the unit. Then they attach a hose to the drain valve at the base of your existing water heater and drain the tank completely, this is where having a clear path to your utility room or garage matters, since the technician needs unrestricted access to the drainage area. Depending on where your water heater sits, this water can be routed into a floor drain, outside through a door, or into a bucket-and-carry scenario if you’re in a tight space.
Step two is disconnection and removal. Once drained, the technician disconnects the water supply lines, the discharge line that prevents pressure buildup, and the gas or electrical connections. On older units, corroded fittings can make this step take longer than expected, if shutoff valves are stuck or connections are heavily calcified, the technician will work them free rather than forcing them, which adds time but prevents damage. The old unit is then moved out, which is where the weight of a full tank matters; most units weigh between 80 and 150 pounds, so accessibility to your entrance and clear pathways reduce strain and risk.
Step three is positioning the new unit. The new water heater is placed in the same location as the old one, or in the location you’ve selected if you’re relocating it due to space constraints. The unit is leveled and secured to prevent movement during operation.
Step four is connection. Water supply lines are connected to the inlet and outlet ports. The cold water inlet typically includes a shutoff valve at the unit itself, allowing you to isolate it for future repairs without shutting off water to your entire home. For gas units, the gas line is connected and tested for leaks using soapy water, you’ll see the technician apply solution to the connection and look for bubbles that would indicate a breach. For electric units, the hardwired connection is made to your electrical panel, often requiring a dedicated 240-volt circuit.
Step five is testing. The unit is filled with water while the technician watches for leaks at every connection point. The thermostat is set, the pilot light is ignited (for gas units), or the heating elements are verified (for electric), and the technician confirms that hot water is reaching your taps. This typically takes 15–30 minutes, depending on unit type and how quickly your system heats.
The process differs slightly between tank and tankless units. A homeowner switching from a traditional tank to a tankless unit will typically see additional steps like venting line installation, gas line upgrades to support higher flow rates, or electrical panel modifications for higher amp requirements. These variations extend the timeline but follow the same safety and code-compliance structure.
Water Heater Installation Timeline: How Long Does It Actually Take
A standard tank-to-tank replacement, where you’re removing an old unit and installing an identical or similar new one in the same location with existing connections, is generally one of the faster home service jobs. You’re typically looking at one to three hours for the complete process, depending on several real-world factors.
What extends the timeline:
- Corroded or stuck connections that require careful work to free without damaging the fitting
- Outdated shutoff valves that don’t function properly and need replacement before the new unit can be safely isolated
- Undersized or missing gas lines that need to be upgraded if you’re installing a higher-capacity unit or switching from electric to gas
- Code-required upgrades discovered during the job, for example, a missing pressure relief discharge line, or a gas unit that needs better venting clearance
- Tankless conversions, which require venting and gas/electrical line work beyond a basic tank replacement
- First-time installations in locations without existing water heater infrastructure
A professional team will give you a realistic time estimate upfront based on your unit type and current setup. If unexpected issues emerge, a valve that hasn’t worked in years, or corrosion that requires extra care, the technician will handle it on the spot rather than deferring the work to a follow-up visit, which means you get the full solution completed in a single service call.
Space Requirements and Placement: Setting Up for a Smooth Water Heater Install
Before the installation crew arrives, it’s worth understanding what your water heater needs in terms of physical space. These requirements exist for safety and code compliance, not convenience, so they’re non-negotiable.
Clearance around the unit varies by fuel type and local code. Gas-fired units need clearance around the access panels for servicing and inspection, typically a minimum of two feet in front of the control area. Electric units have less stringent clearance requirements but still need enough space for panel access. Combustible units need clearance from flammable materials like stored boxes, paint, or rags. If your current water heater location is a cramped utility closet, a tight basement corner, or a garage corner surrounded by storage, the technician will note whether those clearances are adequate or if the unit should be relocated.
Venting access is critical for gas units. The vent pipe that exhausts combustion byproducts needs to reach to the roof or an exterior wall, which sometimes requires routing through walls or ceilings. If your current location has poor venting access, relocating the unit to a spot with direct access to outside, like a garage with an exterior wall, or a utility room closer to the roof line, becomes necessary.
Electrical access for electric or heat pump units requires a dedicated circuit at your electrical panel. If your home doesn’t have an available 240-volt circuit, one may need to be added during installation, which extends the timeline but is a one-time upgrade.
Walk through your current setup before the technician arrives. Check your utility room, garage, or wherever the unit sits. Note any tight spaces, low ceilings, or storage items that would slow down equipment movement. Knowing about access issues in advance means no surprises and no delays once the work begins.
How to Prepare Your Home Before the Installation Crew Arrives
The day of installation doesn’t require extensive preparation, but a few simple steps prevent delays and keep the process running smoothly.
Clear a path from entry to water heater. Move boxes, bicycles, seasonal storage, or anything else that would require the technician to navigate around obstacles while carrying equipment. A 100-pound water heater unit is manageable for a professional, but moving it through a cluttered garage or stairwell adds friction and time. Even a five-minute detour compounds across a job.
Locate and test your main water shutoff valve ahead of time. Find where your water enters your home and locate the shutoff handle or knob. Try turning it, gently, to confirm it actually works. A valve that hasn’t been used in years can become stuck or corroded, and discovering that during installation creates an unnecessary complication. If your shutoff doesn’t turn smoothly, mention it to the technician when they arrive; they can address it as part of the job.
Plan for water service to be off for a few hours. The technician will need to shut off your water supply while they disconnect the old unit and connect the new one. This downtime is typically two to four hours depending on how fast the new unit heats and cycles. Run your laundry, fill the dishwasher, shower, and handle any water-dependent tasks before the appointment window. If you have small children or dependents who need water access during the day, either reschedule for a time that works better or make arrangements for water use elsewhere.
Keep kids and pets away from the work area. The utility closet, garage, or outdoor equipment enclosure where the water heater sits is a work zone during installation. Curious children and pets slow the technician down and create safety risks around tools, electrical work, and hot equipment. If possible, arrange for them to stay in another part of the home or outside during the appointment.
Permits, Local Codes, and Why They Matter
Florida’s building codes for water heater installation exist to protect against gas leaks, electrical hazards, and improper venting, issues that aren’t visible until something goes wrong. Most Treasure Coast jurisdictions require that new water heater installations be permitted and inspected, particularly if you’re converting between fuel types (electric to gas, for example) or upgrading the capacity.
A licensed technician handles permit paperwork and inspection coordination on your behalf. You don’t need to navigate the county building department or schedule an inspector separately. The work gets documented, the unit gets inspected, and your home’s property records reflect the upgrade.
While you’re taking care of your water heater, don’t forget about your home’s HVAC system. For Treasure Coast homeowners needing AC repair, maintenance, or installation, One Hour Heating & Air Conditioning of Treasure Coast provides prompt, professional HVAC services throughout Fort Pierce, Stuart, Port St. Lucie, and beyond.