undefined
Your Complete Florida Maintenance Reference
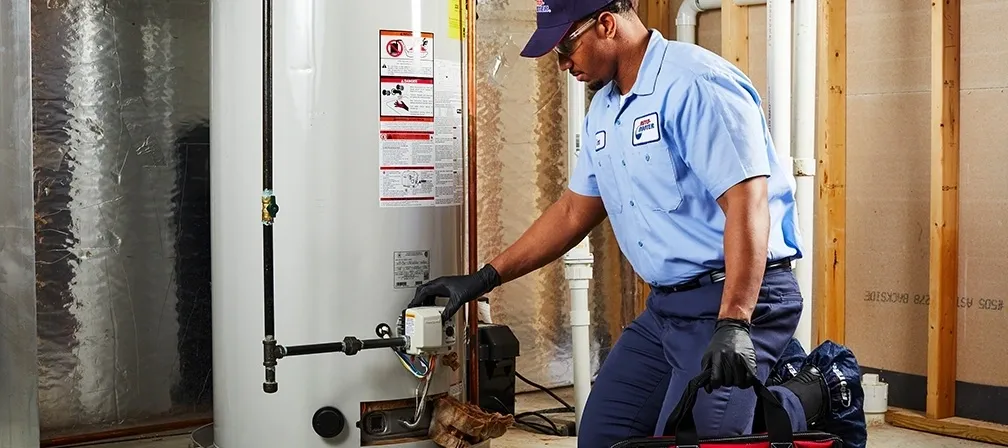
Consistent maintenance is the single best thing you can do for your water heater. Start with how to flush your water heater annually — especially important in Florida’s hard water. Then check your anode rod maintenance every 2-3 years. Inspect the pressure relief valve inspection valve and verify your the right water heater temperature setting is correct. For a structured annual routine, follow 7 annual maintenance habits. If you’re not sure your unit is worth maintaining given its age, review how long water heaters last in Florida first.
Need a water heater installed fast? Discount Water Heaters serves the Treasure Coast — Fort Pierce, Port St. Lucie, Stuart, and surrounding areas. Get your free quote today →